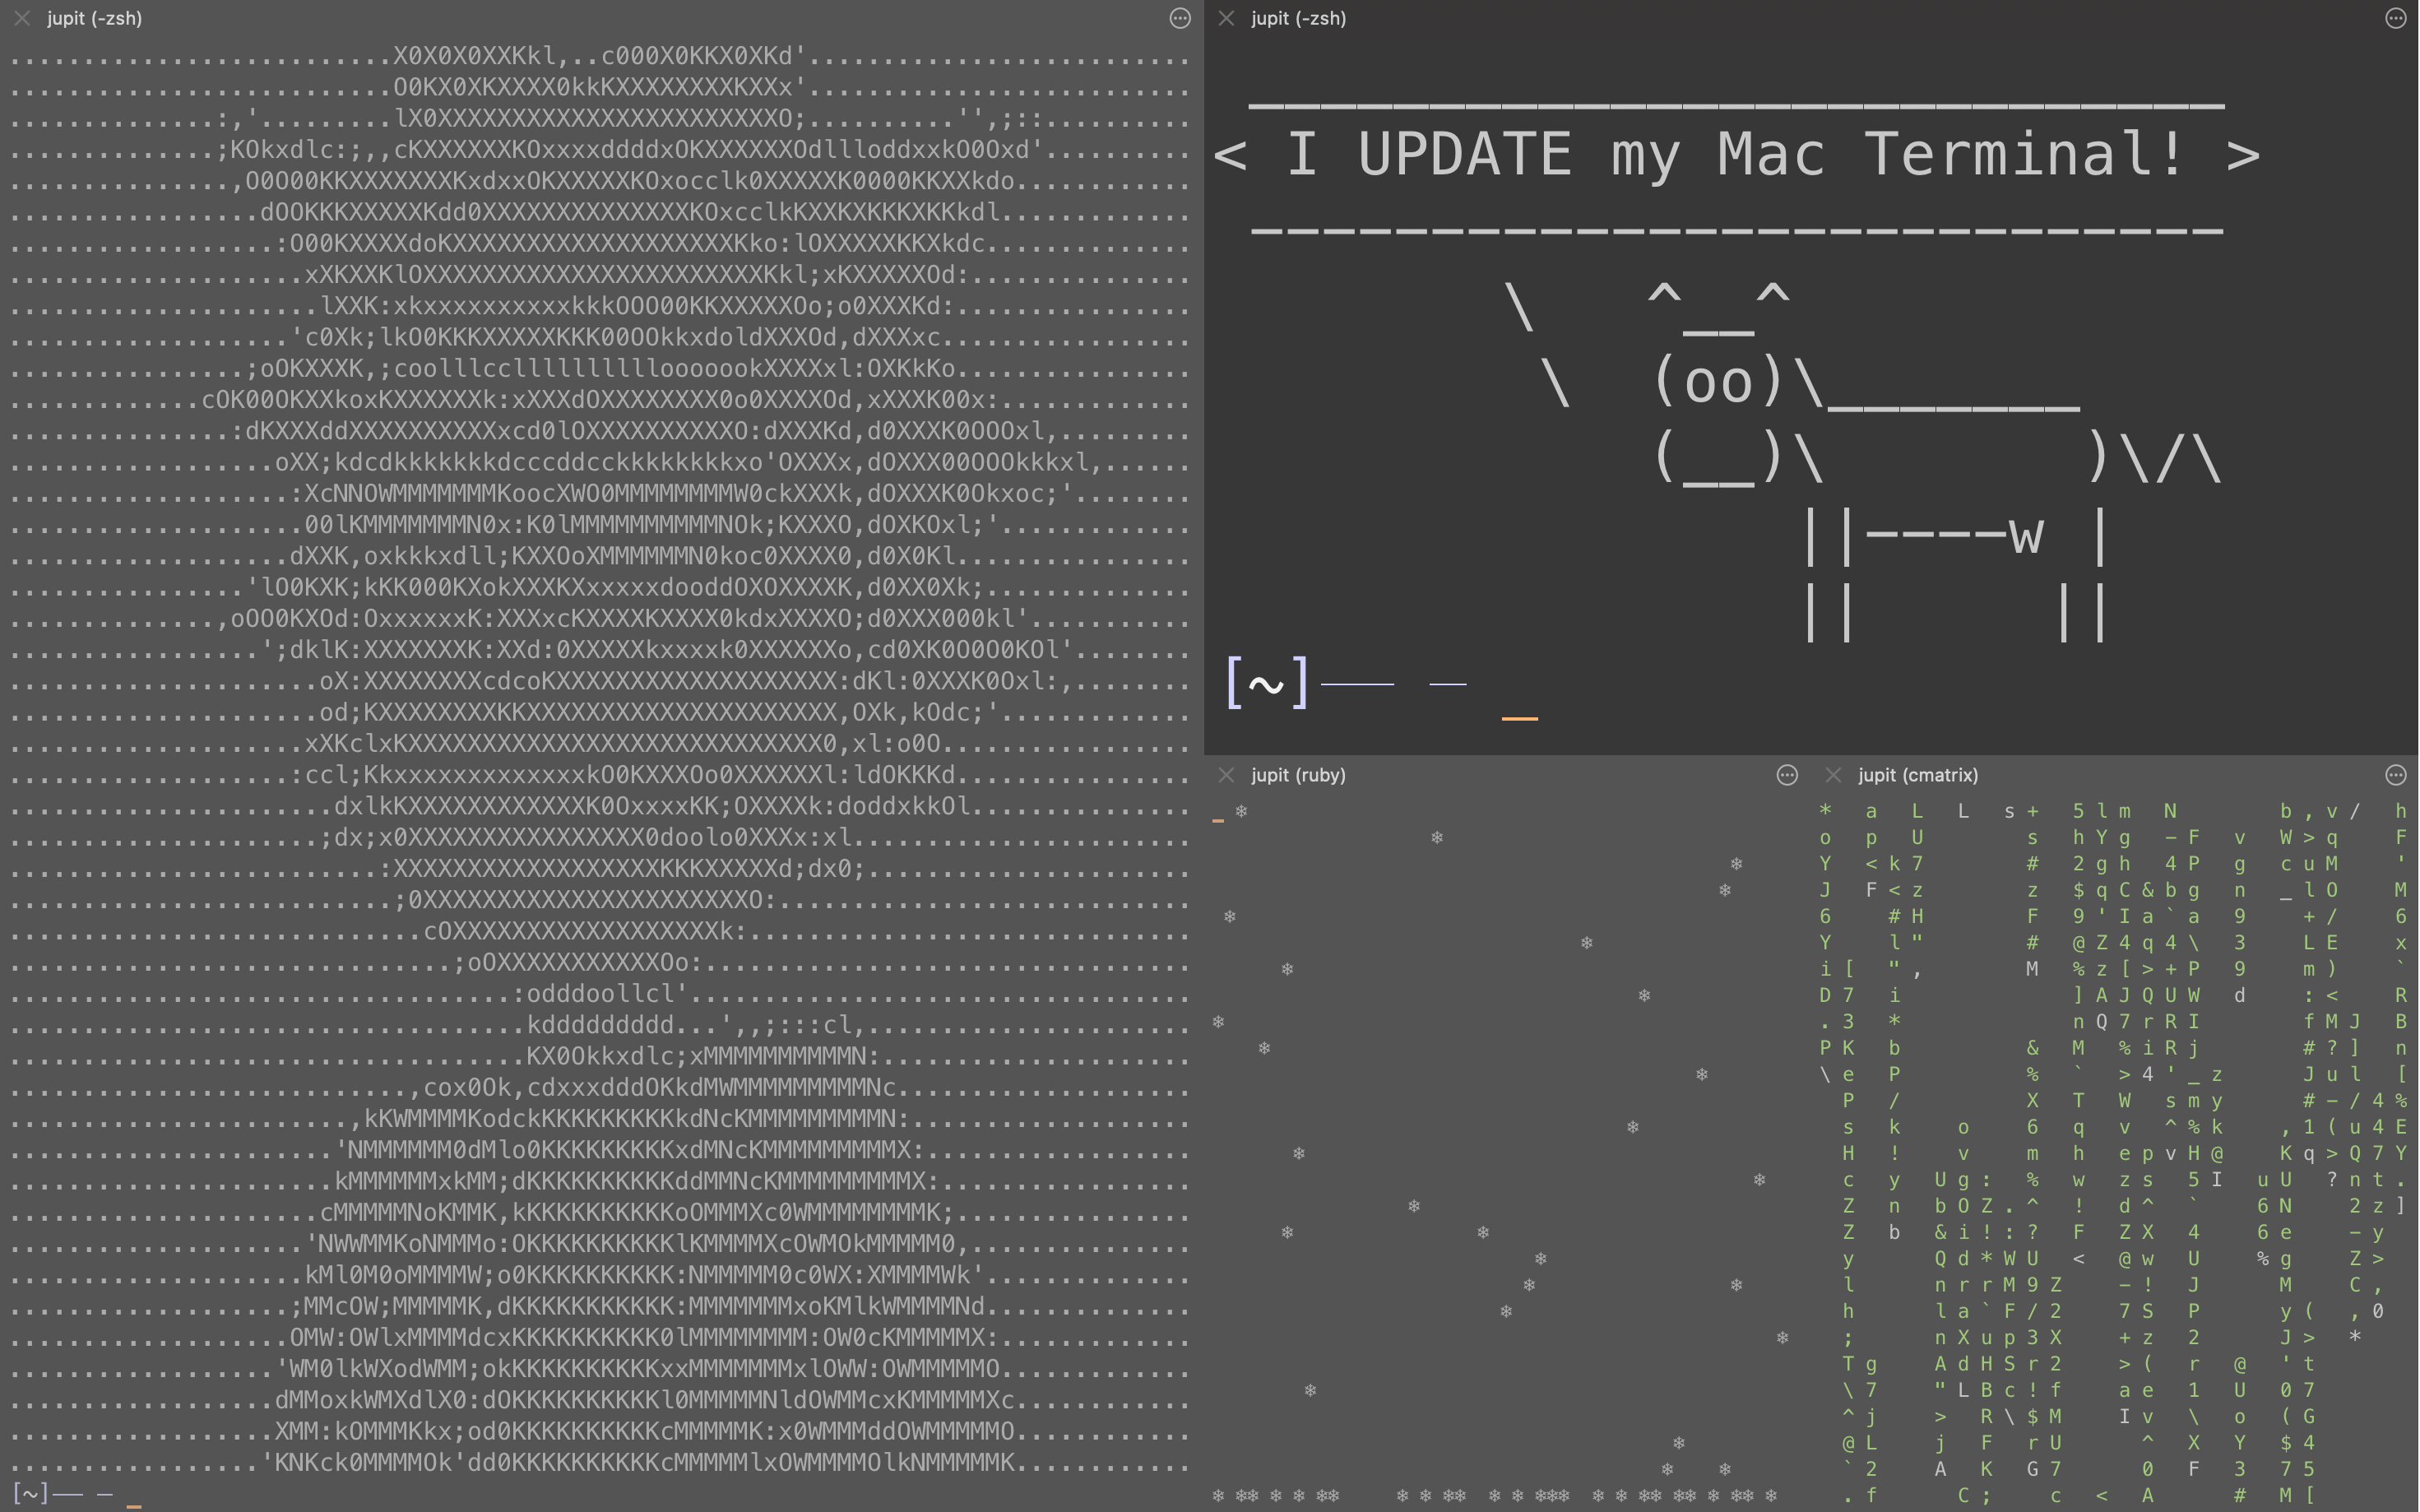
I "UPDATE" My Mac Terminal
A personal guide to improving the macOS command-line experience with iTerm2, Oh My Zsh, plugins, and themes.
Shell VS. Shell Emulator
| Aspect | Shell | Shell Emulator |
|---|---|---|
| Definition | A native command-line interpreter that directly interacts with the OS kernel. | A program that mimics shell behaviour within another environment or runtime. |
| Examples | Bash, Zsh, PowerShell | Web-based terminals, VS Code’s integrated terminal, Python subprocess shell simulation |
| System Access | Direct access to OS processes, file system, and environment variables. | Indirect access—depends on an underlying real shell or sandboxed execution. |
| Purpose | Executes system commands and scripts natively. | Provides shell-like functionality for convenience, portability, or isolation. |
| Dependency | Runs directly on the operating system. | Requires a host environment (e.g., browser, IDE, or interpreter) to function. |
iTerm2 is an advanced shell emulator for macOS. It extends the default terminal app by providing a powerful interface for interacting with Unix shells such as bash, zsh, or fish.
| Aspect | Description |
|---|---|
| Type | Terminal emulator (not a shell itself). |
| Purpose | Provides a graphical interface to run command-line shells and processes on macOS. |
| Key Features | - Split panes and tabs - Hotkey window - Search and autocomplete - Shell integration and trigger automation - Inline image and file previews - Extensive customisation (themes, key bindings, profiles) |
| Difference from Shell | iTerm2 doesn’t interpret commands—it passes them to the shell (e.g., zsh or bash) running inside it. |
| Typical Use | Used by developers and power users for productivity, scripting, and managing multiple terminal sessions. |
Installation
Install Homebrew
1
/bin/bash -c "$(curl -fsSL https://raw.githubusercontent.com/Homebrew/install/HEAD/install.sh)"
After installing, add homebrew to path (assume it’s not already in your path):
1
2
echo 'eval "$(/opt/homebrew/bin/brew shellenv)"' >> /Users/[username]/.zprofile
eval "$(/opt/homebrew/bin/brew shellenv)"
Remember to replace [username] with your actual username.
Install iTerm2
1
brew install --cask iterm2
Install Git (if you don’t have one)
1
brew install git
Install Oh My Zsh
1
sh -c "$(curl -fsSL https://raw.githubusercontent.com/ohmyzsh/ohmyzsh/master/tools/install.sh)"
Install PowerLevel10K Theme for Oh My Zsh
Run this to install PowerLevel10K:
1
git clone https://github.com/romkatv/powerlevel10k.git $ZSH_CUSTOM/themes/powerlevel10k
Now that it’s installed, open the ”~/.zshrc” file with your preferred editor and change the value of “ZSH_THEME” as shown below:
1
ZSH_THEME="powerlevel10k/powerlevel10k"
To reflect this change on your terminal, restart it or run this command:
1
source ~/.zshrc
Install Meslo Nerd Font
Install the font by pressing “y” and then quit iTerm2.
Update VSCode Terminal Font (Optional)
Open settings.json and add this line:
1
"terminal.integrated.fontFamily": "MesloLGS NF"
Don’t forget to add comma in the previous line:)
Configure PowerLevel10K
Restart iTerm2. You should now be seeing the PowerLevel10K configuration process. If you don’t, run the following:
1
p10k configure
Follow the instructions for the PowerLevel10K configuration to make your terminal fits your own preference.
Increase Terminal Font Size
- Open iTerm2 preferences
- Go to Profiles > Text
- I increase my font size to about 16px
Change iTerm2 Colors to My Custom Theme
- Open iTerm2
- Open iTerm2 preferences
- Go to Profiles > Colors
- Download Iterm2 Color Schemes
- Import the downloaded color profile
- Select the color profile
Install ZSH Plugins
Install zsh-autosuggestions:
1
git clone https://github.com/zsh-users/zsh-autosuggestions ${ZSH_CUSTOM:-~/.oh-my-zsh/custom}/plugins/zsh-autosuggestions
Install zsh-syntax-highlighting:
1
git clone https://github.com/zsh-users/zsh-syntax-highlighting.git ${ZSH_CUSTOM:-~/.oh-my-zsh/custom}/plugins/zsh-syntax-highlighting
Open the ”~/.zshrc” file in your desired editor and modify the plugins line to what you see below.
1
plugins=(git zsh-autosuggestions zsh-syntax-highlighting web-search)
Load these new plugins by running:
1
source ~/.zshrc
I’ll update the plugin section once I find useful ones.